The ESP8266 chip from Espressif was the new generation of low-cost WiFi chips after the TI CC3000/CC3200. This small chip not only integrates the whole WiFi features, but also a powerful programmable MCU.
Depending on the board layout (ESP-01, ESP-03, ESP-07, ESP12, etc) it is attached to a programmable flash, ranging from 512K to 4M. This increases the available user code space, and make possible other cool features like a small file system, or OTA updates. This device can be directly programmed from the Arduino IDE. The only requirement is to install the board via the Arduino Boards Manager.
a) Prerequisites :
- Get your AskSensors account.
- Create a new actuator device.
b) Required Material :
The hardwares needed in this section are:
- Computer running Arduino software.
- ESP8266 development board.
- USB micro cable to connect ESP32 development board to the computer.
c) Install ESP8266 in Arduino IDE:
If not done yet, follow the instructions below to install the ESP8266 board in your Arduino IDE:
- Open the preferences window from the Arduino IDE : File> Preferences.
- Go to the “Additional Board Manager URLs” field, Enter the following URL:
http://arduino.esp8266.com/stable/package_esp8266com_index.json - Open boards manager (Tools > Board > Boards Manager), search for ESP8266 and click the install button for the “ESP8266 by Espressif Systems”. It takes some few seconds.
d) Required Software :
- Install the MQTT PubSubClient Library for the Arduino IDE.
- Download this demo from the AskSensors Github page.
The provided code includes the libraries for both connecting to a WiFi network and to read actuator commands from AskSensors over MQTT.
You need to to modify the following variables:
- Your WIFI SSID and password.
- The Actuator Api Key Out and username to set the MQTT Topic:actuator/username/apiKeyOut
const char* ssid = "....."; // Wifi SSID
const char* password = ".....";// Wifi Password
const char* username = "................."; // my AskSensors username
const char* pubTopic = "actuator/..../....."; // actuator/username/apiKeyOut
e) Testing the code :
- Connect your ESP8266 board to the computer via serial/USB and upload the code using the Arduino IDE. The code will be running automatically after Reset.
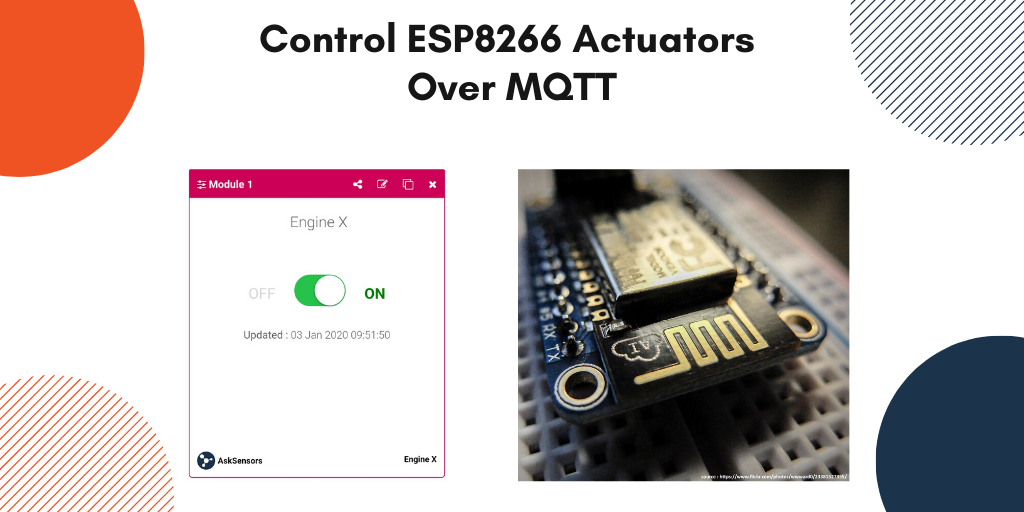
- Return to the AskSensors web appplication, open your actuator devices workspace and send commands to the actuator module that your ESP8266 reads data from.
- Open a serial terminal in Arduino IDE. You can cross-check the ESP8266 terminal reading with the values being sent from the AskSensors Application.
f) Source Code :
A basic source code is shown below. Please refer to the AskSensors Github page to get the latest version and updates.
/*
* Description: Read ESP8266 actuator command from AskSensors over MQTT
* Author: https://asksensors.com, 2020
* github: https://github.com/asksensors
*/
#include <WiFi.h>
#include <PubSubClient.h>

//TODO: ESP32 MQTT user config
const char* ssid = ".............."; // Wifi SSID
const char* password = ".............."; // Wifi Password
const char* username = ".............."; // my AskSensors username
const char* subTopic = "actuator/............../.............."; // actuator/username/apiKeyOut
//AskSensors MQTT config
const char* mqtt_server = "mqtt.asksensors.com";
unsigned int mqtt_port = 1883;
WiFiClient askClient;
PubSubClient client(askClient);

void setup() {
Serial.begin(115200);
Serial.println("*****************************************************");
Serial.println("********** Program Start : Read ESP8266 actuator command from AskSensors over MQTT");
Serial.print("********** connecting to WIFI : ");
Serial.println(ssid);
WiFi.begin(ssid, password);
while (WiFi.status() != WL_CONNECTED) {
delay(500);
Serial.print(".");
}
Serial.println("");
Serial.println("->WiFi connected");
Serial.println("->IP address: ");
Serial.println(WiFi.localIP());
client.setServer(mqtt_server, mqtt_port);
client.setCallback(callback);
if (!client.connected())
reconnect();
Serial.println("********** Subscribe to AskSensors MQTT topic");
// susbscribe
client.subscribe(subTopic);
}

void loop() {
client.loop();
}

void callback(char* topic, byte* payload, unsigned int length) {
Serial.print("Command received from AskSensors[");
Serial.print(topic);
Serial.print("] ");
for (int i = 0; i < length; i++) {
Serial.print((char)payload[i]);
}
Serial.println("");
}

void reconnect() {
// Loop until we're reconnected
while (!client.connected()) {
Serial.print("********** Attempting MQTT connection...");
// Attempt to connect
if (client.connect("ESP8266Client", username, "")) {
Serial.println("-> MQTT client connected");
} else {
Serial.print("failed, rc=");
Serial.print(client.state());
Serial.println("-> try again in 5 seconds");
// Wait 5 seconds before retrying
delay(5000);
}
}
}